If you have ever tried recording a video indoors with your iPhone and noticed strange flickering bands across the screen, you are not alone. This issue is a common occurrence in rooms lit by tube lights, CFL bulbs, or LED panels that operate at specific electrical frequencies. The good news is that the flicker is not a sign of a faulty camera. Instead, it is a mismatch between your iPhone’s recording settings and the indoor lighting environment.
With that said, let’s see how to stop iPhone camera flickering in indoor lights.
Why the Flicker Happens
Indoor lights, especially energy-efficient bulbs, do not glow continuously. Instead, they flicker at very high speeds that our eyes cannot detect. In India, the frequency is 50 Hz, which means the light refreshes 50 times per second.
Your iPhone records videos at frame rates like 24fps, 30fps, or 60fps. So, when your camera’s frame rate does not sync with the light’s flicker rate, the camera ends up capturing the light during the dimming phase.
Fix 1: Turn On Auto FPS to Reduce Flicker
Apple has a built-in setting that helps prevent flicker automatically and adjusts the frame rate based on the lighting around you.
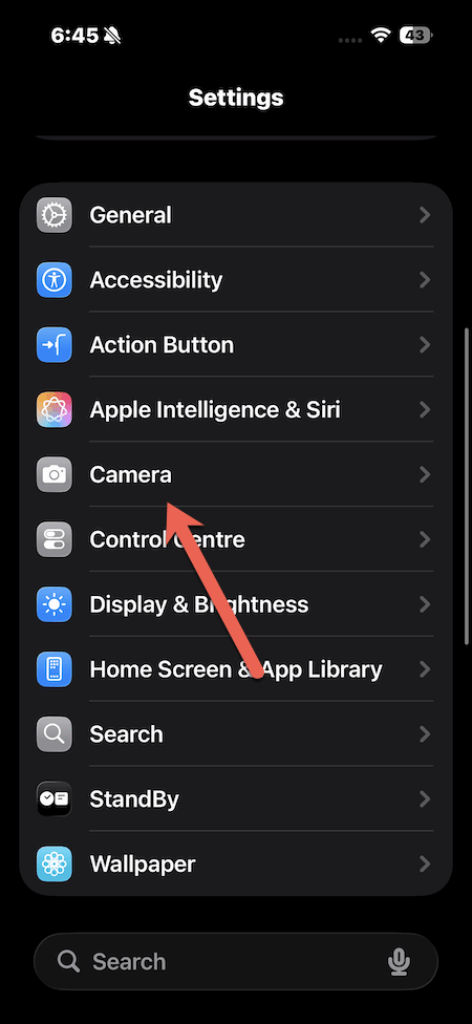
To enable it, open Settings and navigate to Camera. Tap on it and select Record Video.
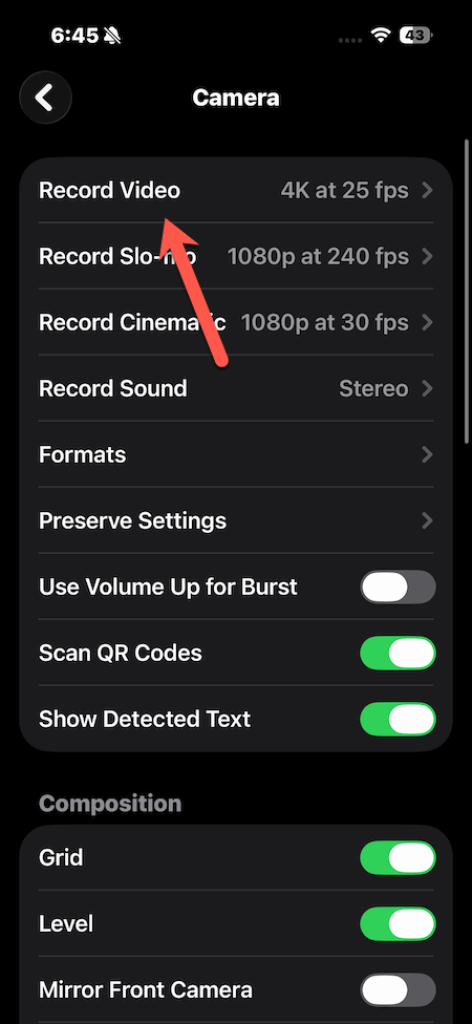
Next, scroll down until you see the option for Auto FPS to select 4K at 25 fps or Auto 30 fps.
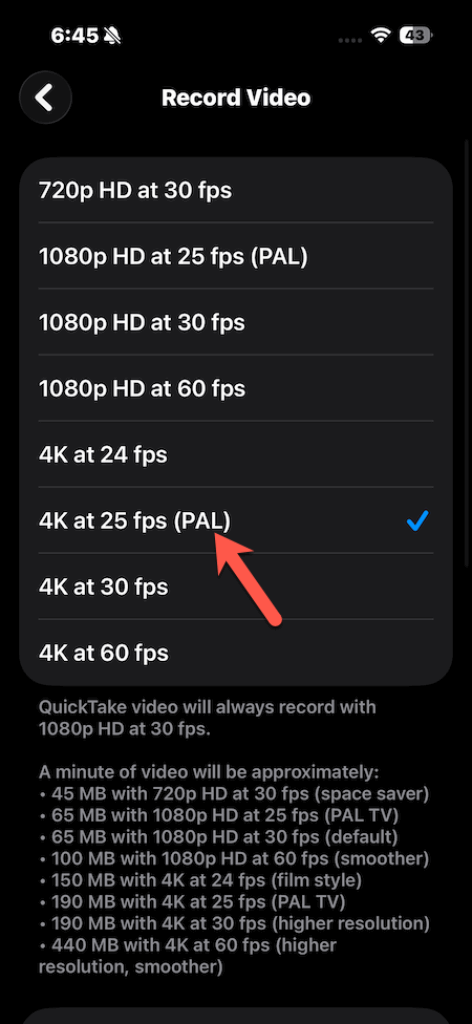
This latter will allow your iPhone to switch between 30 fps and 25 fps depending on the surrounding light. Since 25 fps aligns better with 50 Hz lighting, this simple toggle often fixes flicker without any manual adjustments.
Fix 2: Manually Change the Frame Rate
At times, Auto FPS may not fully solve the problem. In that case, you may have to manually pick a frame rate that matches indoor lights.
To change the frame rate from the camera, open the Camera app and switch to Video.
Now, tap the frame rate option at the top right and select 25fps.
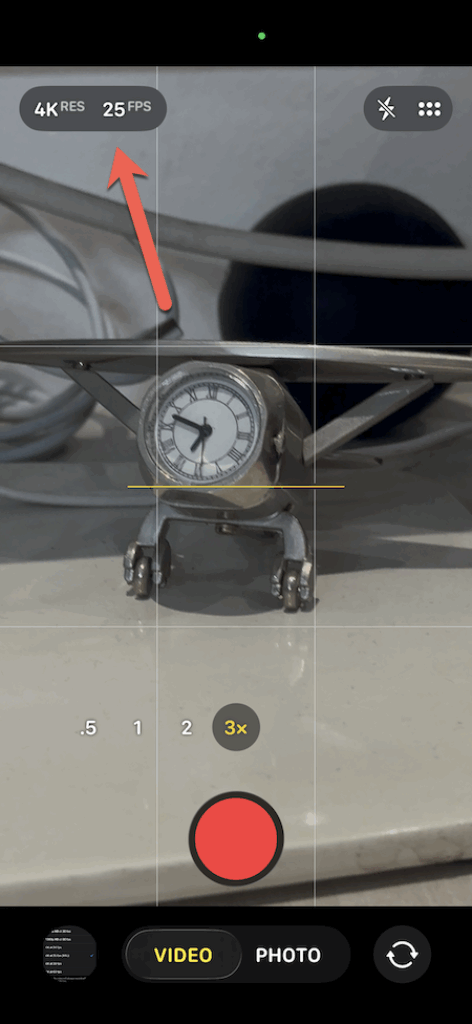
Record again and check if the flicker is gone. With this method, you are aligning the capture speed with the light’s flicker cycle
Fix 3: Change Lighting Type or Brightness
At times, it’s the issue with the light itself. In that case, we would recommend increasing the brightness of the light or using continuous LED lights with higher refresh rates.
And well, if you have access to natural light, it’s the best.
Fix 4: Lock Exposure to Reduce Visible Flicker
Your camera constantly adjusts exposure, and this can exaggerate flicker. Locking exposure helps keep the brightness consistent.
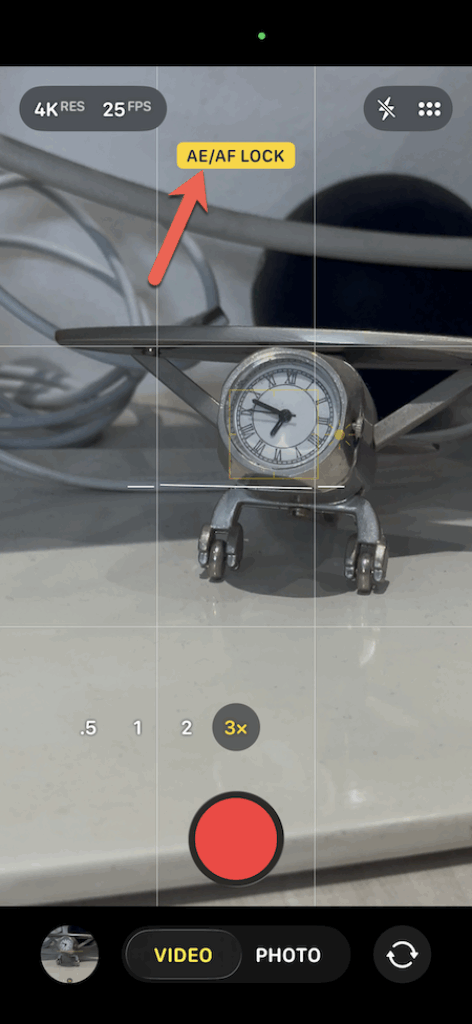
To reduce flickering on your iPhone, open the Camera app and point the camera at your subject.
Next, tap and hold on the screen until you see AE/AF Lock. Tap on it and then start recording your videos.
While this method does not remove flicker caused by frequency mismatch, it reduces brightness shifts that make it more visible.
When Nothing Works
If the flicker still shows up even after trying all the fixes, it usually means the lighting itself is the real issue. Sometimes the room might have very old or faulty bulbs, or the frame rate you selected may still be slightly out of sync with the light’s refresh cycle.
In other cases, certain LED bulbs have low-quality drivers that flicker at lower frequencies, which makes the problem unavoidable. When this happens, the simplest solution is to replace the problematic bulb or record using natural light, since daylight never flickers.
Final Thoughts
iPhone camera flickering can be annoying, but thankfully, it is also one of the easiest things to fix once you know what is causing it. A small tweak to your frame rate, a quick exposure lock, or even switching to a better light source is usually all it takes to clean up your footage. The next time you are recording something indoors, try a couple of these tricks, and you will see how quickly your videos start looking smoother and flicker-free.